Import wizard
Written By Mattias Hägerstrand
Last updated About 1 year ago
Step 1 – Prepare your files
The uploaded agreements need to be in Excel-format. To create the agreement file with the necessary information, download and use the templates available and then check that all necessary information is specified in the excel file before uploading to the system.
To consider before you start adding tariffs to Proxio tariffs:
tariffs are in Excel format
all necessary information is specified
the file is customized/supplemented with information that facilitates the insertion
Necessary information:
Relation information: Country, specific postal code, postal code area, city, specific customers, etc.
Constraints: Minimum/maximum limits on shipments, pallet and parcel level, volume conversion factors
Rules: weight rounding, advantage calculation
Add-ons and Surcharges
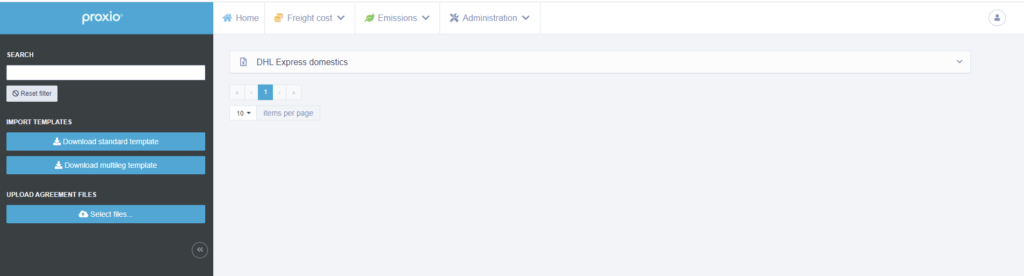
Step 2 - Upload agreement file
In the Freight cost dropdown menu select the Import option.

Use the button Select files to upload the new agreement. The uploaded file will appear and be listed with the other uploaded files.

Step 3 – Create new tariff(s) from agreement
From the new uploaded document/agreement select which type of tariff to create using the Import button.
The different steps to go through when using the wizard:
Select date
Select carrier
Select carrier service
Select currency and price unit(s)
Select horizontal axis and mark where the axes are in the uploaded sheet
Select Vertical axis and mark where the axes are in the uploaded sheet
Optional to add rounding precision
Optional to set geographical demarcations and exceptions
Name the tariff and add optional description, tags, priority, and emission profile